Friday, September 24, 2010
Amy Butler Extravaganza
Amylouwho is hosting a Amy Butler Sew n Tell link party today. She announced it a few weeks ago and there are prizes! It just so happens that I had been planning on making a few Amy Butler items for some Craftster swaps I am in. I waited to post these on the blog until my partners had received just to make sure I didn't ruin any surprises!
Everything I am posting today is from a pattern found in Amy's Little Stitches book. I have borrowed this book multiple times from the library and made the boy a hat from it a year or so ago. I love the finished products that Amy Butler's patterns produce, but I have to admit, getting there can be a headache!
First up, is the Everything Bag pattern. This was a fairly straight forward pattern. It has a lot of inside pockets and a divider. Originally when I saw this bag in the book I really wanted one. After making it though, I don't know that it will fit my needs too well.
I used a baby wale cord on the outside. It's super soft! The inside is a toile which my partner is a huge fan of. Inside shot:
I love the amount of pockets on here. I think that is what makes this bag worth making. There are four on the inside and two on the outside. So handy for moms!
Next are the super cute baby pants in the book. I have made a lot of kid's pants over my sewing history. This is a straight forward pattern with the cute added bonus of a accent cuff. I alternated the main and accent fabrics to suit my partner's tastes . I used Amy Butler's Full Moon Dot and Sandi Henderson's Apple Dot, they complimented each other really well.
Once I finished them I showed it to my husband and he commented that the apple fabric was upside down. Which, if you look closely, you can see that it's actually not. However the darker apples "read" as the main print and they are upside down. Bummer! I didn't have enough fabric to redo it and since it's not technically a mistake, I decided to let it go. I definitely want to make a pair of these for our bebbit that's due in a few months.
The last project is the Modern Diaper Bag. If you have seen this pattern in the book, you know how huge it is. Like unusably huge. I saw a modified version of this bag on Craftster and she used the measurements found on The Ogden's blog. I was so excited to see Jenny's modifications. It makes this bag a whole lot more useable.
Now this pattern was a pain. I had a hard time matching up the lining and the exterior. Also there were so many layers of interfacing that I was skipping stitches in a few places. But, like the Weekender, the finished product is worth the frustration. It creates such a polished looking bag. The exterior is a alova suede in a moss color. I lined it with a quilter's cotton.
The amount of pockets on here is awesome as well. You get six interior pockets. Like others have mentioned, how to attach the pockets is not clear in the pattern. So I just sort of winged it.
Both of my partner's seemed very happy with their bags so I am glad I made them. I might tackle the Modern Diaper bag again, but I am not too sure. I just picked up Style Stitches and there is a bag in there that I am in love with. I might have to make that one instead...
I am linking this up to Amy's party today. I cannot wait to go and check out what everyone else has been making!!
Tuesday, September 14, 2010
Dragon Hoodie
Last week, I chosen got to test out another pattern for Kitschy Coo! This time it was a reversible hoodie pattern. How fun! I finished the hoodie this weekend. This was a pretty intricate pattern but her instructions were easy to follow.
She suggests using two similar fabrics, either two wovens or two knits for compatibility purposes. Of course I decided to make it hard on myself, and used flannel for a lining and sweatshirt knit for the outside. It makes for exciting sewing! I really wanted to make the boy something warm so he could wear it the next few months. The flannel I had purchased a year or so ago to make a hoodie but never got around to it. For the sweatshirt fabric, I cut up an old sweatshirt of mine that never quite fit right. Yay for cheap projects!
The fit was spot on and the the boy really liked it. I love the dragon flannel, I think I am going to get some more to make some lounge pants for him. So this is the "inside":
The necessary cheese smile:
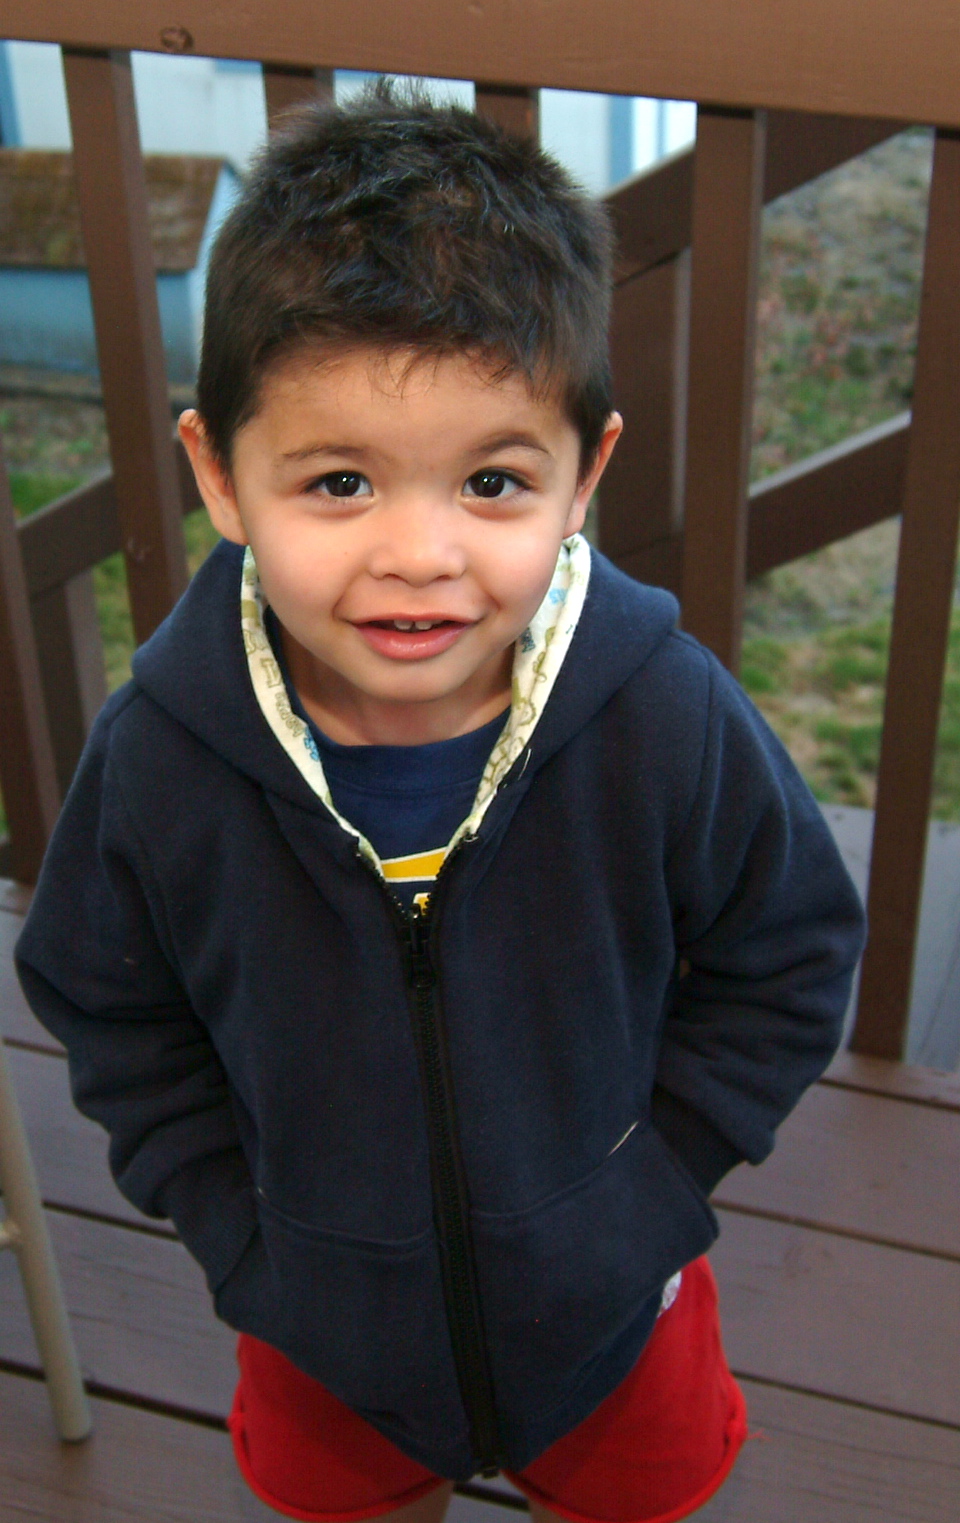
And the exterior (isn't he so stinkin' cute?):
Monster face (which is also necessary as a 2 year old):
Thanks again for choosing me as a test sewer Kitschy Coo!
I am linking this up with Sew N Tell!
Thursday, August 26, 2010
Mushrooms
So this week, I got quite a bit of sewing in. I finished up the last little bits on some totes I was making for a swap on Craftster. I also decided to make Lila Tueller's mushroom pincushions for the same swap.
Man, these guys are big! It's hard to tell from the pictures but the portobellos's are aprox 5.5 inches across and 5 inches tall. The other thing I forgot to think about is how I plan to ship them to my swap partners! I don't want to get boxes because that would be expensive. I am hoping they will bounce back from being so crushed in padded envelopes.
This little guy? He's mine. I love how he turned out and I couldn't bear to send him away. Sorry swap partners!
What did you sew up this week? I am linking this up to Amylouwho's Sew n Tell. Go check out the other fun stuff being linked up.
Saturday, August 14, 2010
Cotton Candy Quilt
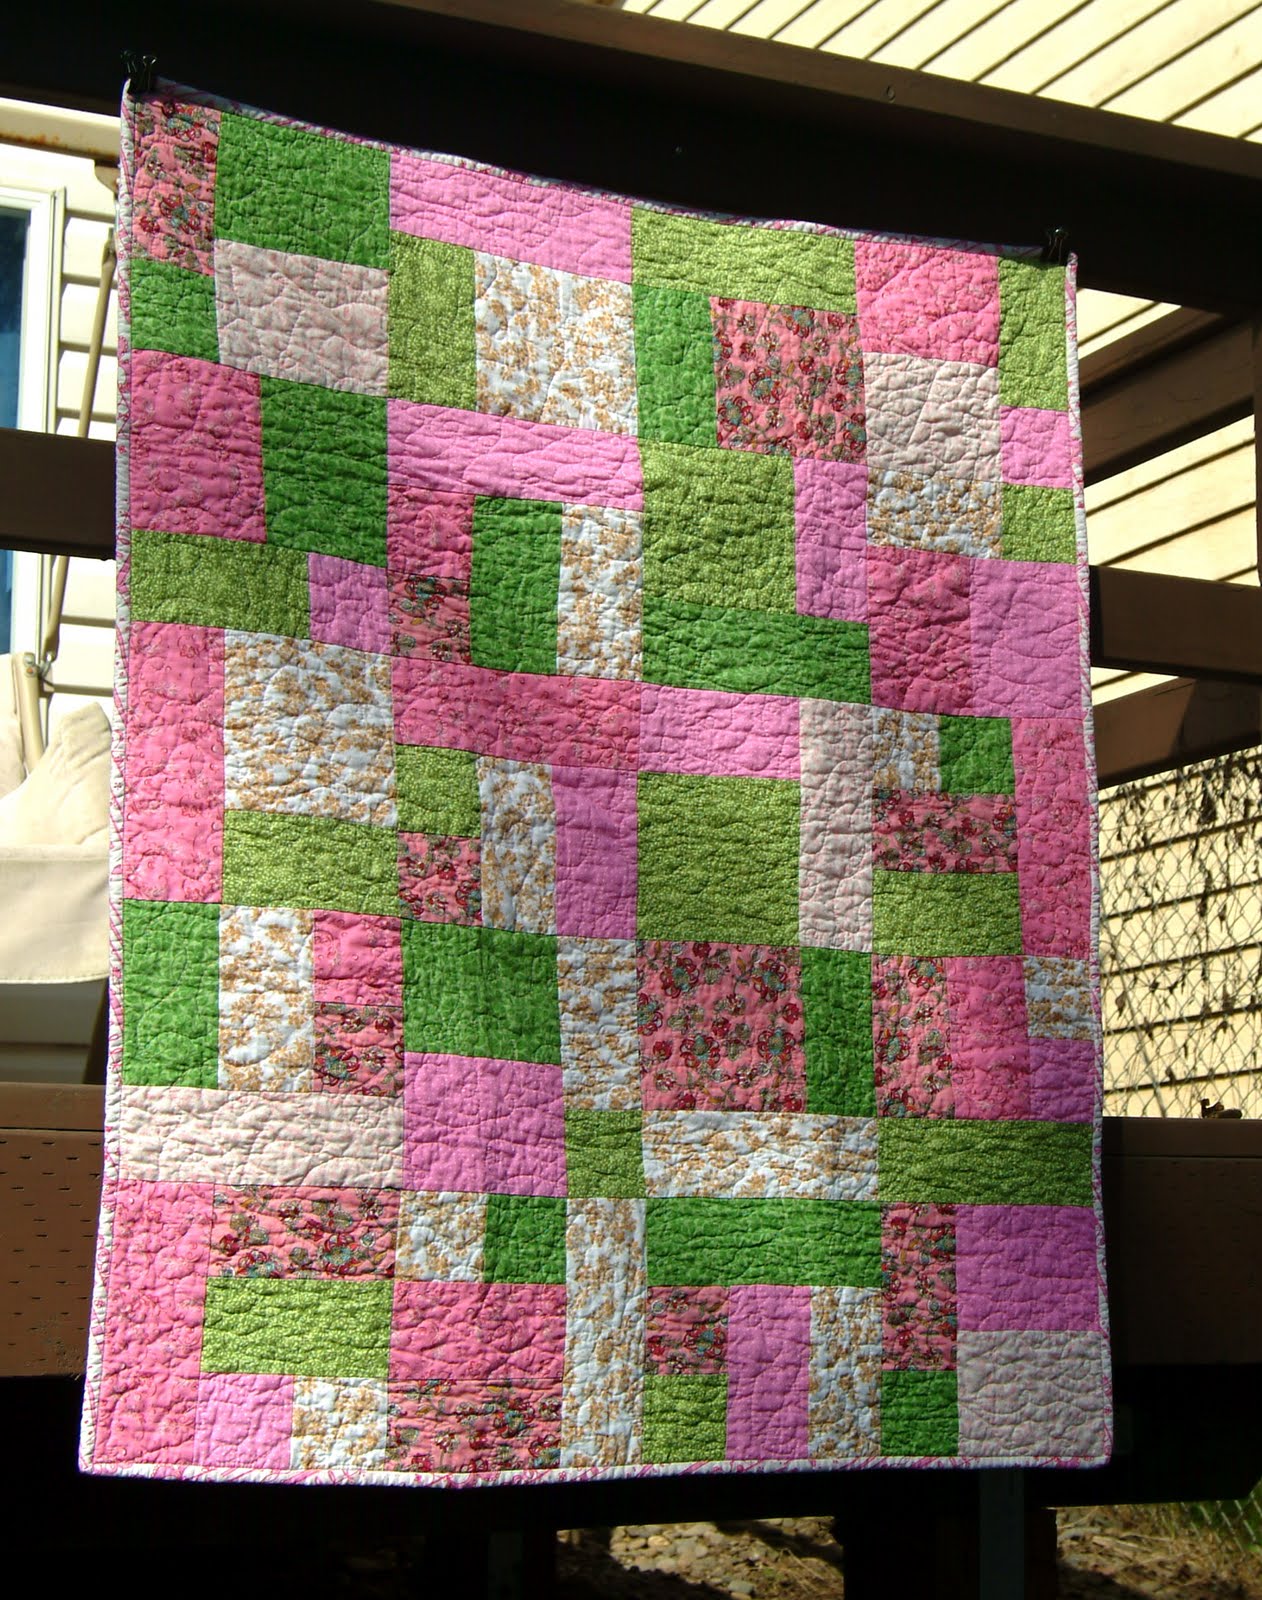
I made this baby quilt earlier this year. My cousin was having his first baby, a girl! He and his wife named their little girl after our Gran and I am so excited about that. (I miss my Gran!) I used a pattern on this quilt. It's the Yellow Brick Road pattern, I love that pattern. I have used it 4 times now. It works up really quickly and the directions are super easy to follow.
Here is the top as a flimsy:
I chose pink and green because those were the colors they had for bedding on their registry. I chose an all over stippling pattern because it's quick! Here is the finished quilt:
A close up of the quilting, the binding reminded me of a candy cane:
Just a fun shot:
Friday, May 15, 2009
Girly Superhero Cape
A close friend's daughter turned 2 this past weekend. Of course I wanted to make her something fun. She loves her big brother's cape so I decided to make her a girly one of her own.
I used the tute at Puking Pastilles: http://pukingpastilles.com/?p=57 It's super easy to follow and I highly recommend it.

Close up and the backing fabric:

I think she'll like it...
Close up and the backing fabric:
I think she'll like it...
Wednesday, May 13, 2009
Poppiful Wrap Skirt
I have been dying to get my hands on a copy of Heather Ross' Weekend Sewing. I had it on hold at the library for months. It finally came in the the Sat before Mother's Day and I raced to the library to pick it up. I really wanted to make the wrap skirt pattern. I had seen a few versions of it on Flickr and thought it would be perfect for some poppy fabric (sale $3/yd!!) I had been hoarding for the perfect dress or skirt pattern. So I traced the pattern, ironed and cut out my fabric, sewed and about 6 hours later (with interruptions) I had this skirt. I stayed up till 3am to finish it and wear it the next day to church. So worth it.

If you decide to make this, check her website for corrections. I am a size 10, used 5 panels and 3 yds of fabric. (The original pattern has a sz L using only 3 panels. That would have barely wrapped around me...) I had to cut the waistband not on the bias because I didn't have enough fabric to do so. I think the next one I make I might put a large button hole in the waist so that I can thread one of the ties through when wrapping. I was unsure of the proper wrapping technique so a buttonhole would make that easier. Plus that would help the waist lie flatter, not so much fabric bunched up.
Close up of the waist:

Closer pic of the skirt:

I am in love with this book and I might use the Amazon gift certificate I received for my birthday to actually buy a copy. Which is saying a lot for me. I very rarely buy myself books.
Thanks for looking!
Read more: http://www.craftster.org/forum/index.php?action=profile;u=105883;sa=showTopics#ixzz2TOwC1tRL
If you decide to make this, check her website for corrections. I am a size 10, used 5 panels and 3 yds of fabric. (The original pattern has a sz L using only 3 panels. That would have barely wrapped around me...) I had to cut the waistband not on the bias because I didn't have enough fabric to do so. I think the next one I make I might put a large button hole in the waist so that I can thread one of the ties through when wrapping. I was unsure of the proper wrapping technique so a buttonhole would make that easier. Plus that would help the waist lie flatter, not so much fabric bunched up.
Close up of the waist:
Closer pic of the skirt:
I am in love with this book and I might use the Amazon gift certificate I received for my birthday to actually buy a copy. Which is saying a lot for me. I very rarely buy myself books.
Thanks for looking!
Read more: http://www.craftster.org/forum/index.php?action=profile;u=105883;sa=showTopics#ixzz2TOwC1tRL
Monday, May 4, 2009
Patchwork Bucket
I really needed a larger basket for the kitchen to replace the small one that was holding my son's sippy cups. It was overflowing to the point of things falling out. I couldn't find anything I liked at a price point I could afford.
So I dug into my stash and busted out this tute:
http://foofanagle.wordpress.com/2007/06/26/bagsket-tutorial/
I didn't follow the tute exactly. Originally I made the 12 inch one but it was a lot bigger than I had anticipated. So I ripped out out the seams and cut it down to the 8 inch size. (sort of. I mis-measured my top part and had to fudge it abit lot.) I made up my own handles to fit the amount of fabric I had on hand. I also left out the bag part because I didn't really need it. Since I wanted to use up stash & I didn't have any pellon 70, I used the lightweight interfacing I had on hand and some leftover quilt batting to help it stand up. I free motion quilted the bottom and stitched in the ditch on the top. My binding was leftover from another baby quilt so it's two different fabrics. All in all I love how it turned out. 

bottom:

inside:

all full up!:

So I dug into my stash and busted out this tute:
http://foofanagle.wordpress.com/2007/06/26/bagsket-tutorial/
I didn't follow the tute exactly. Originally I made the 12 inch one but it was a lot bigger than I had anticipated. So I ripped out out the seams and cut it down to the 8 inch size. (sort of. I mis-measured my top part and had to fudge it a
bottom:
inside:
all full up!:
Subscribe to:
Posts (Atom)